Posted by Elegant Nails & Beauty by Sue on
The best skin care regime for teenage skin is to use a range of products that gently cleanse away oils and unblock pores without drying out or damaging the skin.
A teenage skin type usually has open pores and an oily surface with a tendency towards pimples, blackheads and a sallow appearance.

Follow this skin care regime for teenage skin each day so your skin always looks and feels its best.
Morning skin care routine
Step 1. Cleanse
A teenager’s most important skincare step for clear skin is cleansing.
Cleanse by lathering up with a gentle cleanser.
This is a better choice than ordinary soap, as it won’t strip away moisture from your skin, but will remove grime, dirt and oil. Massage gently over damp skin with fingertips including hairline and under jawline.
Step 2. Rinse
Thoroughly rinse all traces of cleanser from your face and neck, whilst face is wet apply your exfoliant.
Step 3. Exfoliate
It’s really important to “keep skin exfoliated” due to the hormonal surges that are occurring and leading to blocked pores.
Exfoliating your skin will help your skin care products work properly. As a general rule of thumb, the oilier your skin, the more often you can exfoliate, but do not exfoliate more than 3 times a week.
Apply your exfoliant over a wet face gently slough away dry, flaky skin. Rinse and pat dry.
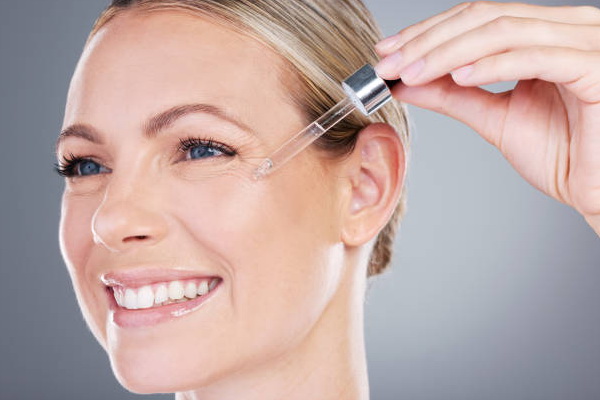
Step 4. Toner
Using a toner is another key step to a good skin care routine.
Toner helps to rebalance the pH levels of your skin, which in turn helps manage oil production.
A good toner will also help remove any lingering makeup residue from hidden places such as your jawline and in your hairline.
Tone your skin by soaking a cotton round soaked with witch hazel and sweep it over your skin to refresh it. Continue “sweeping” until the cotton pad comes up clean.
Step 5. Sunscreen
It is important to use a Sunscreen even on cloudy days.
Apply a sunscreen with a SPF+50 factor onto your face, neck, backs of your hands and your decolletage area (right down to your nipple line).
Wait 5 minutes before continuing with the next step.
Step 6. Moisturiser
Even oily skin requires a moisturiser to help seal water into the top layers to keep skin soft and supple. Choose a light, watery fluid and don’t load the skin down with a heavy cream.
Allow your moisturiser to penetrate the skins surface and after a few minutes press a clean tissue over your face to absorb the excess, this will prevent a shiny complexion.
Wait 5 minutes before continuing with the next step.
Step 7. Make-up Application
Once your moisturiser has dried go ahead with your makeup application.
Evening skincare routine
Step 1. Remove all Make-up
If you want clearer skin it is especially important to remove all makeup, especially your mascara before going to sleep with Micellar Water or a gentle eye makeup remover.
The skin around the eye area is delicate, so don’t drag it when removing your eye makeup. Soak a cotton make-up pad with a non-oily remover and hold over your eyes for a few seconds to dissolve the make-up, then lightly wipe it away from the eyelids and lashes.
Step 2. Cleanse
Using an Oil based cleanser, cleanse your skin by splashing your face with water, then massage in, working it into a lather for about 30 seconds.
It is a good idea to lightly massage your skin, because this will boost the supply of blood to the surface of your skin.
Step 3. Rinse
Thoroughly rinse all traces of cleanser from your face and neck, then pat off excess water but leave skin damp.
Step 4 Mask: (Optional)
If your skin is on the oily side, consider using a clay mask.
Clay purifies and tone pores, clearing congestion and help to battle breakouts.
There’s are specialty face masks available to suit every skin type and skin concern.
If you aren’t sure which mask to use click on the link below or make your own (see recipe below)
This mask is perfect for teen skin as honey is a natural humectant so it’ll draw moisture into your skin, yet it’s also antibacterial helping reduce any acne bacteria in the skin.
Combine
1 tablespoon of honey
1 tablespoon of nutmeg
2/3 teaspoons of cow’s milk in a bowl
then apply to your face using a brush; continue to layer the mask until it’s all gone.
Leave it on your skin for 10 to 15 minutes and then rinse off with warm water.
Follow with a toner and moisturiser.
Step 5. Toner
Balance your skin’s excess oil with a toner containing apple cider vinegar or witch hazel, both of which balance any oiliness.
Avoid the delicate eye area as this can become more prone to dryness.
Step 6. Moisturise
Apply moisturiser formula to the back of your hand and from there apply a dot to your forehead, nose, to each cheek, chin, neck and decolletage, use light upward strokes to massage it in.
More Articles from our Blog…
Retinol 101: The Essential Do's and Don'ts for Beginners
Retinol. It’s the undisputed necessity in skincare, famed for its power to smooth fine lines, clear acne, and boost collagen.…

Alphabet Cream Evolution
Tinted moisturisers and alphabet creams (referred to by the designations BB, CC, and DD) are a subcategory of foundation that…
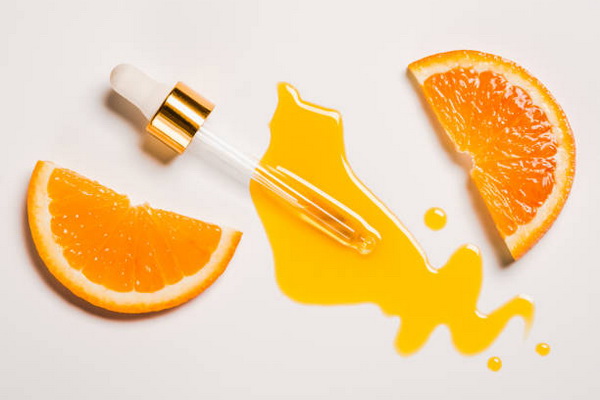
Benefits of using Vitamin C Serum in your skincare routine
There are many benefits of using vitamin c serum in your skincare routine… knowing how to use it properly is…