Posted by Elegant Nails & Beauty by Sue on
With our simple guide it will be easy to ace a French Manicure.
Discover why the French manicure remains a beloved style – its understated elegance is undeniably chic.
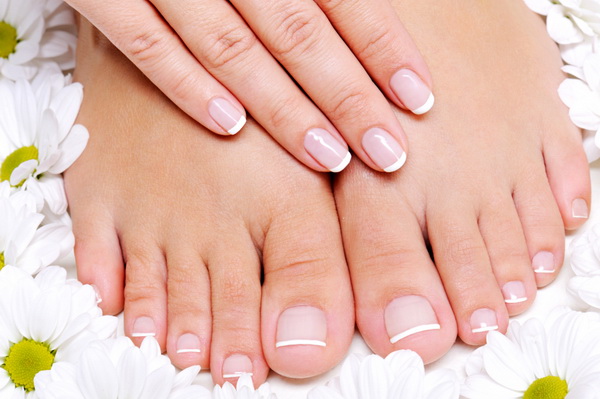
Follow our step-by-step instructions to create this adaptable look, seamlessly transitioning from everyday simplicity to sophisticated evening glamour.
What you will need for your French Manicure application
• Cuticle Remover
• Base Coat
• French White Polish
• French Sheer Pink Polish
• Top Coat
• Small nail scissors
• Natural Nail File
• Nail Polish Remover
• Clean Up Brush
Instructions:
Step 1. Perform a basic manicure
Perform a manicure on your nails to ensure your nails are nicely shaped and even in length.
Step 2. Tame your cuticles
Give your cuticles a monthly tidy will help keep to them looking nice and prevent them from splitting or growing down your nail plate.
Apply some cuticle softener on to each nail near the cuticle and leave to process for 2 minutes.
Soak nails in some luke warm water then gently push back your cuticles making sure there is no cuticle left covering the moon.
This step should always be performed after your nails have been submerged in water (ie washing the dishes or having a bath or shower so as not to damage your cuticles).
Step 3. Clean & Tidy
Once you have performed a manicure and treated your cuticles, wash and dry hands and nails thoroughly to remove any file dust and residual cuticle remover.
Step 4. Start with a Base
Apply a clear base coat over each nail and let dry.
Using a base coat helps the nail polish to adhere to the natural nail.
Step 5. Paint the edge
Paint then edge of each nail and then apply one coat of the white polish to the tips of your nails following the natural smile line of each nail.
Try to apply the polish in one long even stroke working from one side of the nail to the other.
Most French White polishes need only one coat but if necessary, apply a second coat leaving time to dry in between coats.
Tip: You might find it easier to turn your hand sideways to apply the polish, that way you can roll the finger as you are applying the polish.
Step 6. Perfection is key
This is the time to clean up the smile lines and any random residual paint that doesn’t belong on your nails or skin.
Part of its appeal is the crisp clean lines, there is nothing pretty about an untidy French Manicure.
Step 7. Pretty in Pink
Wait for the white polish to completely dry, then apply a coat of pink polish over the entire nail.
If you like a very natural finish, apply just one coat of pink polish, if you prefer a bolder effect apply two coats of French pink first then paint the white ends last.
Allow drying time in between coats.
Step 8. Finish with a Top Coat
Once the polish has dried, apply a clear top coat over the entire nail and cap edges for added protection.
Let dry.
Tip: Top Coat not only adds shine to your manicure but also helps protect the nail colour.
Step 9. Enjoy!
Admire your hard work. Enjoy!
Its easy to ace a French Manicure application every time when you follow our simple step-by-step guide.
More Articles from our Blog…
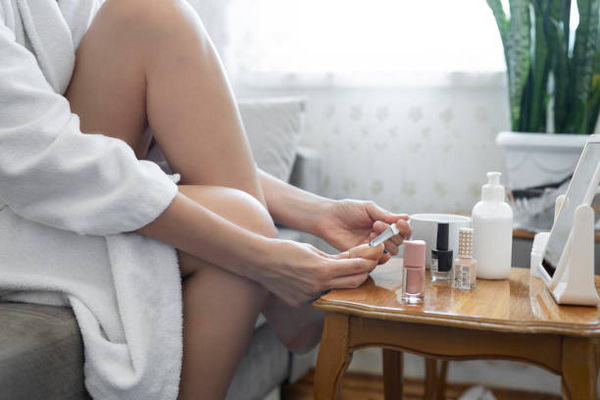
The Ultimate Guide to a Perfect Pedicure at Home
Transform your toes for the summer weather with our ultimate guide to a perfect home pedicure routine. Whether you’re treating…

7 Reasons to try a Pedicure
Pedicures are one of the most enjoyable things you can do for yourself but surprisingly many are too embarrassed to…
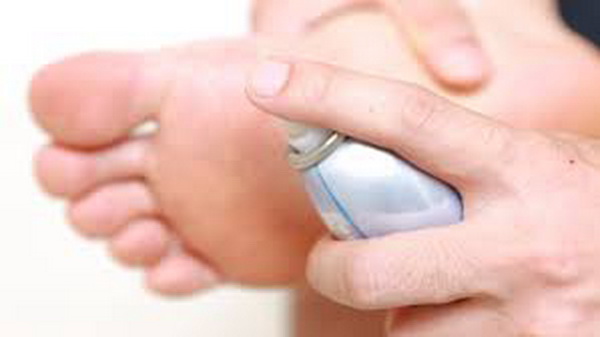
Smelly Feet Prevention
For some, smelly feet can be a real embarrassing problem but odour prevention is easy to fix when you know…