Posted by Elegant Nails & Beauty by Sue on
When you are a beginner, its a little tricky to ace your false lashes at first.
Follow these simple steps to master the application of false lashes.

Follow this simple step-by-step guide for hassle free lash application and you will batting your lashes in no time.
• A Set of lashes (your choice)
• Eyelash glue (I recommend Ardell Duo brand)
• Small nail scissors
• Eyelash Curler
• Tweezers or Lash Applicator
• Mascara
• Liquid liner
Step 1. Choose
Obviously there are a multitude of lashes on the market, so you before you choose your lashes, decide what type of look you are going for.
If you prefer a doll-like doe eye look, choose lashes that are longer in the centre.
If you like a sexy cats-eye look, choose lashes that become longer towards the ends.
Step 2. Remove
Gently, remove lash strip from package and gently bend back and forth, this will help loosen up the lash strip, making it more pliable, creating a neater fit.
Tip: Use tweezers to GENTLY remove them from the packet – if you’re gentle you will get more than one use out of them.
Step 3. Size
Because every eye size is different, measure the false lashes against the length of your own lash line and trim them as required.
To measure: simply place lashes directly above lash line.
Lashes should begin a few millimeters away from the inner corner of your eye.
If they are longer, trim as required by trimming a little from the outer edge.
Do a little at a time and re-measure – you don’t want to cut off too much!
Step 4. Curl
Now is the time to curl your own lashes.
Once the lashes are glued on, it will be difficult to curl unruly lashes.
Don’t give your own lashes too severe of a curl, because your falsies need to lie against your natural lashes.
Step 5. Glue
Apply directly from the tube onto lash seam, by holding the lashes between your finger and gently running a small amount of glue evenly along the strip.
You only require a thin, even layer of glue on the lash strip.
If you feel that you might put on too much, deposit a dab of glue from the tube onto the back end of an eyeliner brush and work it along the strip lash.
Step 6. Wait
Once adhesive is applied to lash strip – WAIT, about 30 seconds!
Adhesive needs time to set and become tacky.
If glue is too wet when you apply your lashes, the falsies will slide around and make a big sticky mess!
Step 7: Apply
You’ve waited 30 seconds, and now you are ready to apply.
Take a deep breathe and don’t stress.
Using either your lash applicator or a pair of tweezers, grasp the lash side of the falsies (lash strip facing you), tilt your head down (so that you are looking down, into your mirror) and gently place lash strip directly above on top of your natural lashes.
Use the back of an eyeliner brush, pen, or any other clean stick-like object, to guide the lashes as close to your lash line as possible.
Using the same utensil, gently press the lash strip against your skin. This will help to secure your falsies in place.
Step 8. Pinch
Using the tweezers or your fingers pinch the fake lashes and your own lashes together so that they blend in and look natural.
Once you think they are stuck, check in the mirror from different angles making sure they have properly adhered.
Initially, your lashes may take some getting used to.
They will feel heavy and it may feel strange to look through them.
As long as they are not pinching or painful, you will get used to the sensation.
It will take about 15 minutes.
Step 9. Mascara
Apply a few light strokes of mascara after the falsies have set. It’s a good way to blend your natural lashes with the false ones.
It also lifts the lashes so you don’t feel like you’re looking through a curtain of hair.
Step 10: Eyeliner
Fill in any gaps where skin shows with liquid liner this will give a more even finish.
Removing your lashes
Follow this simple step-by-step guide to remove your strip lashes.
Step 1. Remove your Makeup
Use a gentle eye makeup remover to wipe away any mascara or eyeliner. This makes it easier for you to see where your real lash ends and the falsie begins.
Step 2. Be Gentle
Gently grasp the outer edge of lashes and gently pull up, and along toward the inner corner of your eye.
If the falsies are stuck on your natural lashes, gently use soap and warm water to dissolve the glue. Once the glue is more pliable, they lashes should peel away more easily.
Step 3. Store
If you have removed them carefully and the lashes are in good shape, peel dried glue off and place them in their original packaging. They will be good as new for next time.
False lashes are the ultimate finishing touch to your makeup but…
Did you know?
False Lashes were actually the brain child of a movie director? In 1916, movie director D.W. Griffith wanted his leading lady, Seena Owen, to have “eyelashes long enough to brush her cheeks” when she blinked and so he made it happen.
But make-up legend Max Factor made them mainstream when he gifted actress Phyllis Haver with a set of false lashes, which sparked a lot of public interest.
More Articles from our Blog…
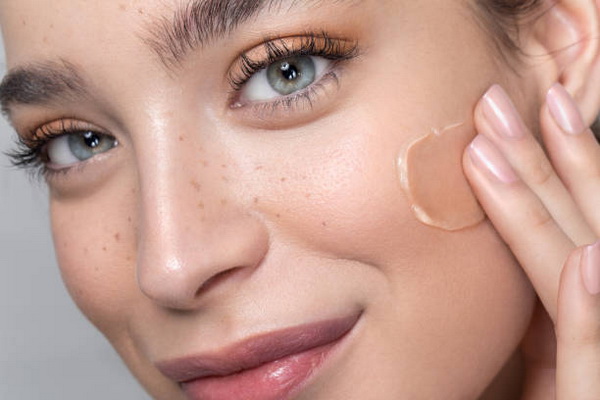
Ace your base like a pro
You can ace your base like a makeup pro in less than 15 minutes. No matter your skin type, or…
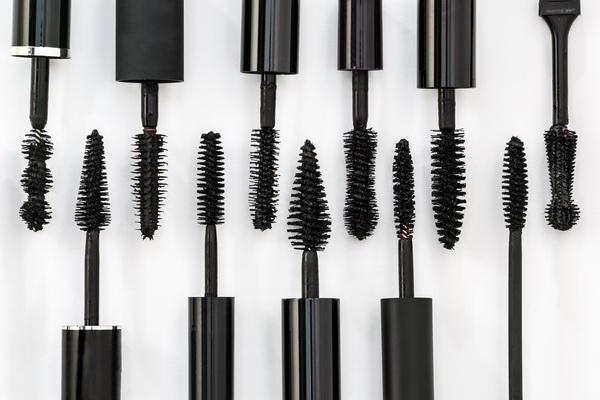
Miracle Mascaras
Mascaras are little makeup miracles that magically enhance your eyes. They do their magic by adding length and fullness to…
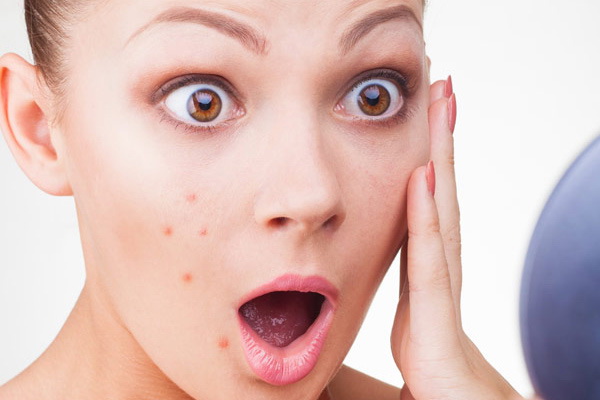
3 steps for disguising a pimple
Pimples are unfortunate visitors that drop in unannounced from time to time usually right before an important event. Don’t despair…